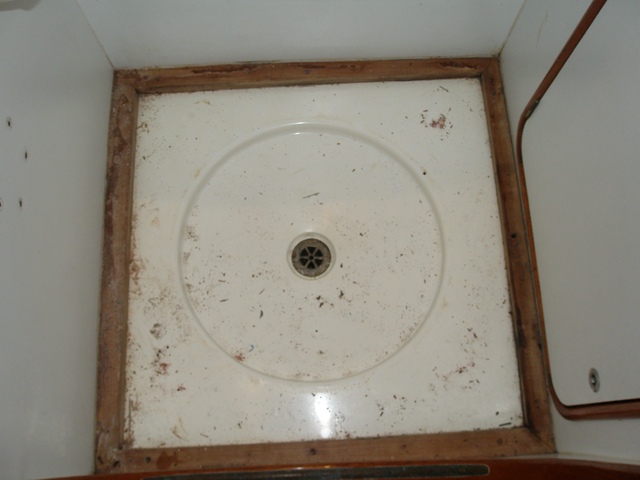
I tried pulling up the bungs in the teak around the compartment hoping that the entire shower pan would come up. Unfortuantely this was not to be the case, after much work it is clear that the sump was screwed down but with thickened resin to make sure it would not leak.
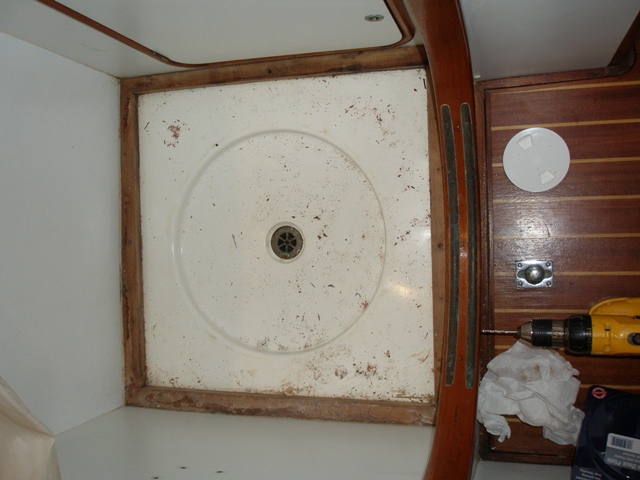
My original concept for getting access would be possible in one of the four corners of the pan. I tried drilling a small hole in the corner and found that there was brown foam under the shower pan. So I will need to make a different access point. I decided on an access hatch on the sloped part of the shower sump. This will avoid having to modify the teak grate.
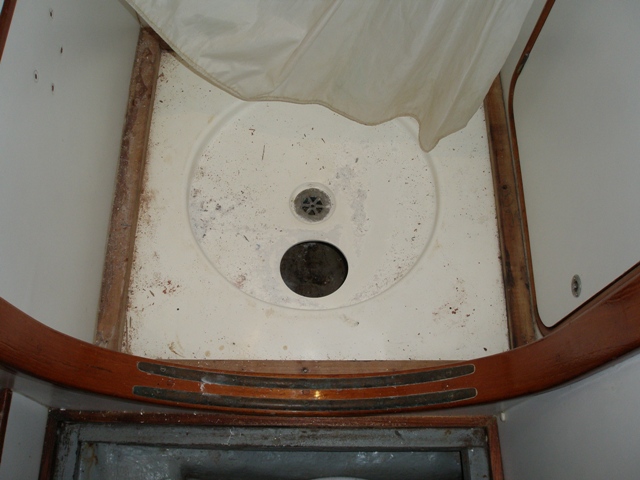
After an e-mail to Oyster to make sure I was not overlooking something obvious the yard and I came to the same conclusion and I got out the hole saw to gain access to the underside of the shower sump.
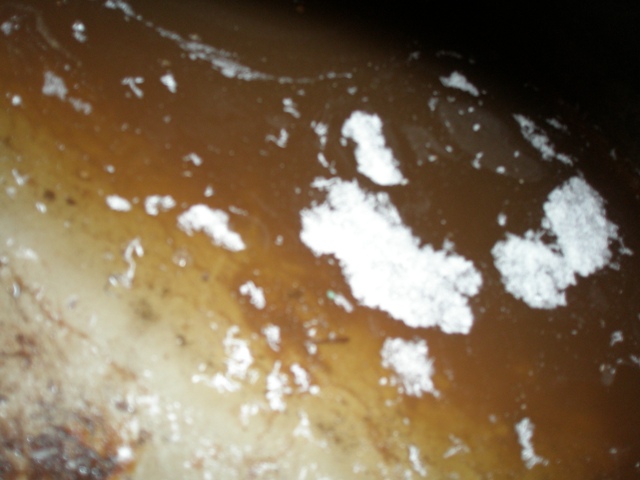
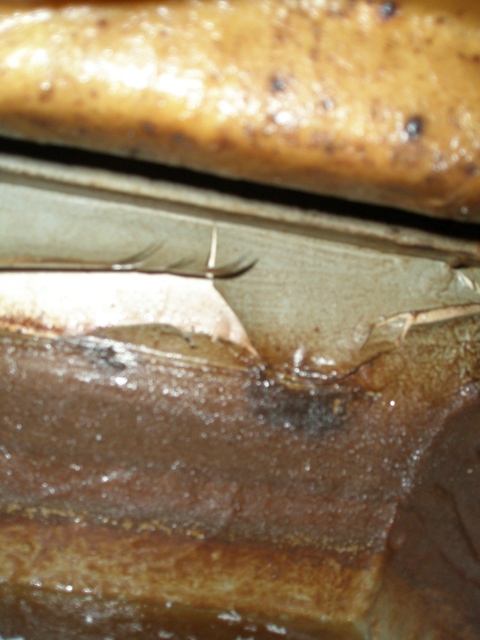
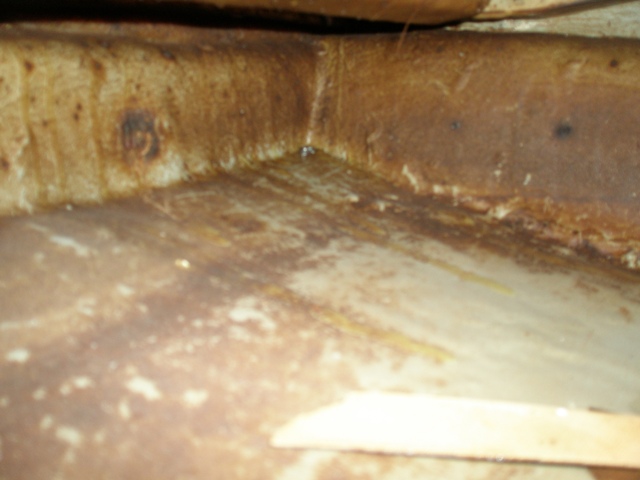
The first look under the sump confirmed that there is no limber hole in this part of the boat. The only way for water to get out of this area is going aft under the floorboards in the head compartment. Unfortunately, the lowest part of the area under the shower sump is lower than the exit and thus water can stand in this area until it evaporates. The white is powder from the drilling process.
As I have seen in a couple of plases on the boat, gelcoat does not stick well to Formica. Fortunately where there was not Formica the gelcoat was well attached and thus there appears to not be any significant penetration of moisture into the wood. I am currently drying the compartment carefully with both mechanical dehumidifiers as well as using desicant based systems.
The same is here. There has been standing water but the wood is fully encapsulated and there are no penetrations into the foam of the stringers so there was no damage from the standing water.
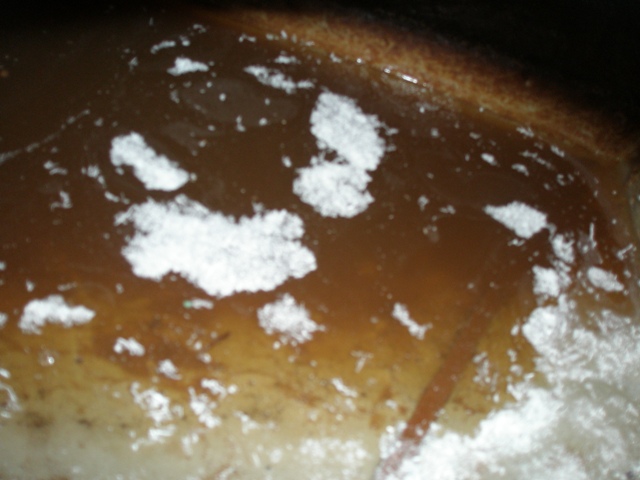
More different views of the area under the shower sump.
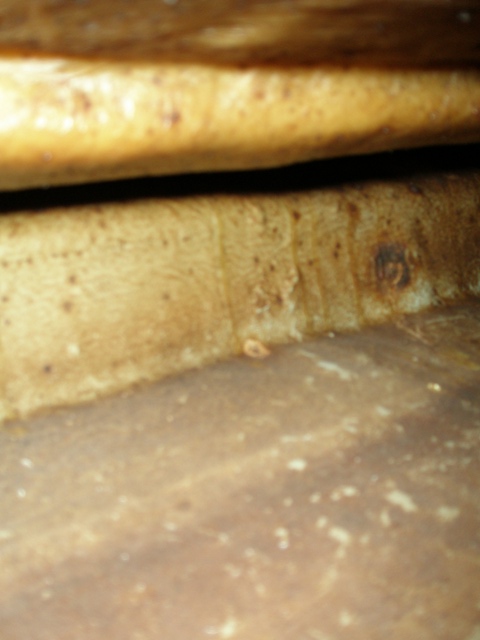
This is looking outboard where there is less space.
You can barely see above that there is a stringer running around the shower pan which explains the dark foam that the drill encountered. It was probably better to have drilled access where I did rather than in the corners.
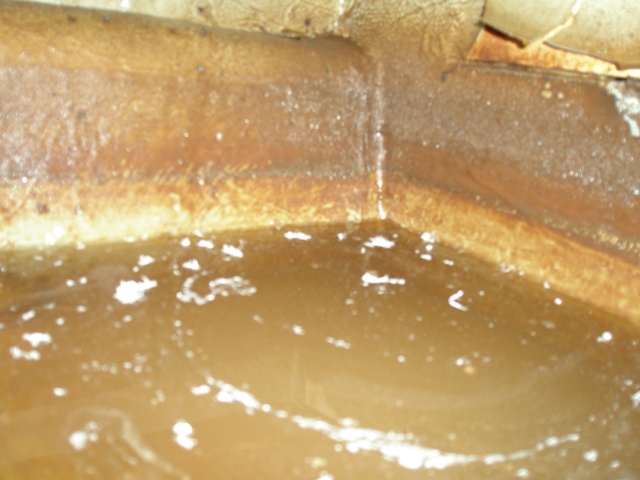
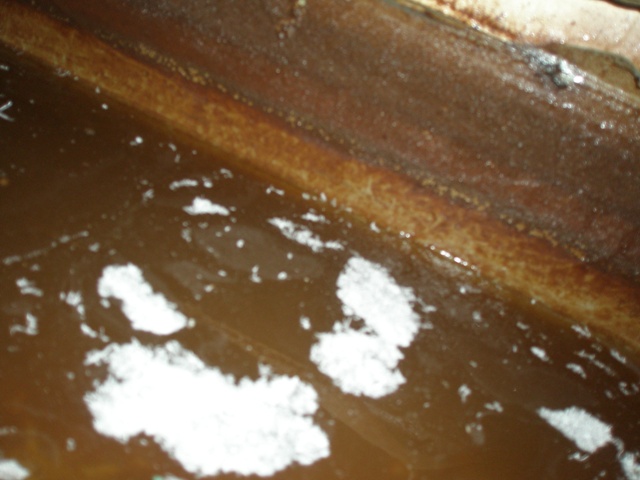
This is looking inboard with some of the water removed
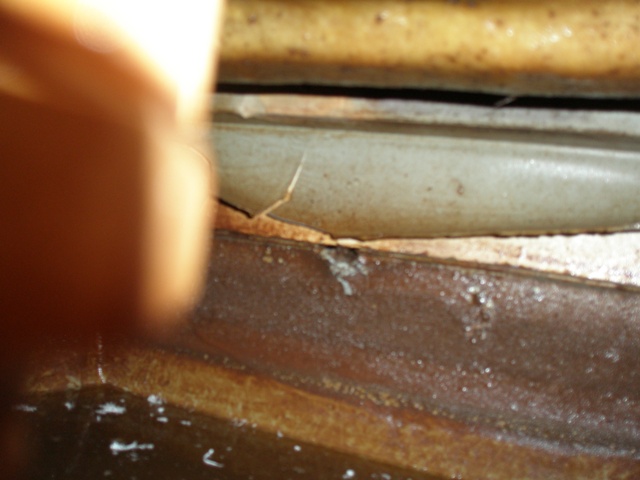
The stringer on the underside of the shower pan is clear in this image
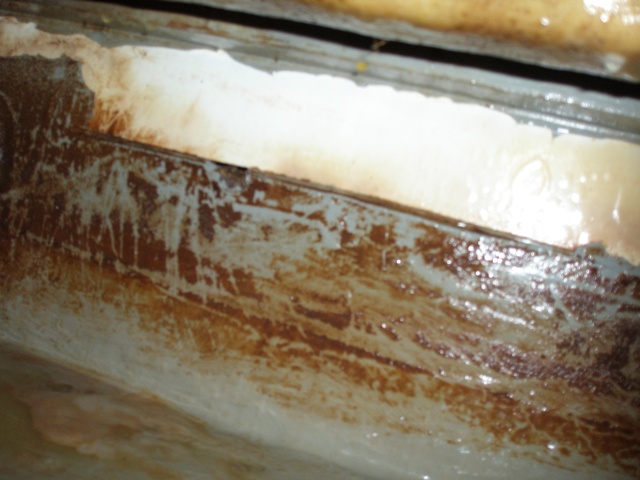
After much cleaning things are starting to look somewhat presentable. I will have to do some additional cleaning prior to finishing this project.