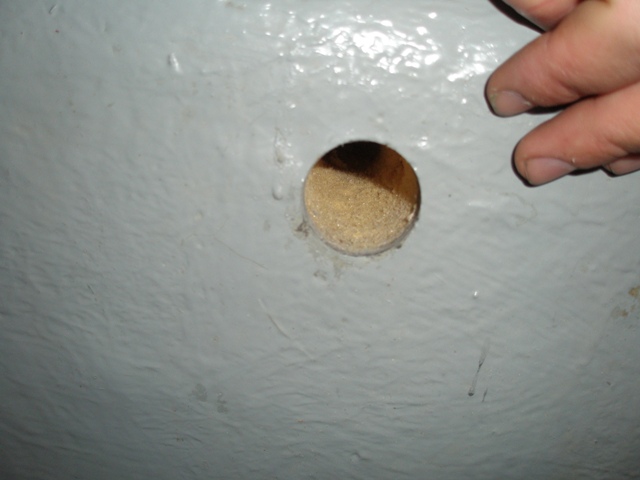
Here is the hole as I found it after removing the existing vent line. If I had known at this point that I would be pulling the holding tank out of the boat I would have drilled it a bit larger which would have made getting the vent line back through the hole somewhat easier.
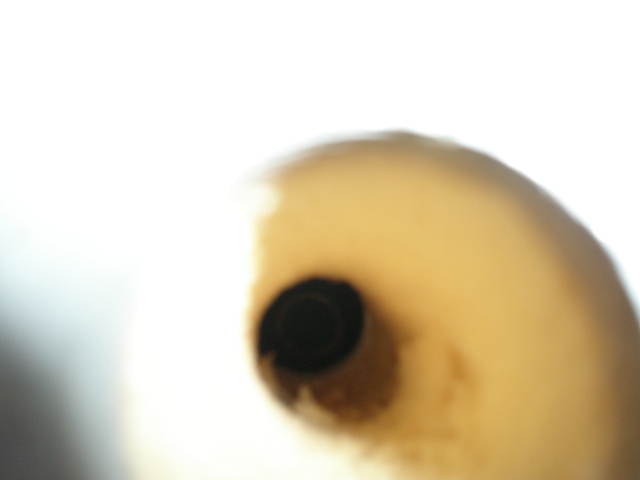
This image shows that the vent for the tank does in fact line up with the hole. You can see a bit of a hollow out area to the lower right which will in the end have more epoxy in it that I would like, a bit of thickened epoxy in this region prior to starting might have been a good idea.
Here I have cleaned up the edges to make sure that the epoxy gets a good bite on the fiberglass. Since I will be covering the far end of the hole with Gorrilla Tape (a very good grade of Duct Tape) and then push the piece of pipe through with tape over the end of the pipe. This means that there is a solid plug of thickened epoxy all the way through so even if the PVC pipe was to delaminate from the Epoxy it would not leak into the foam.
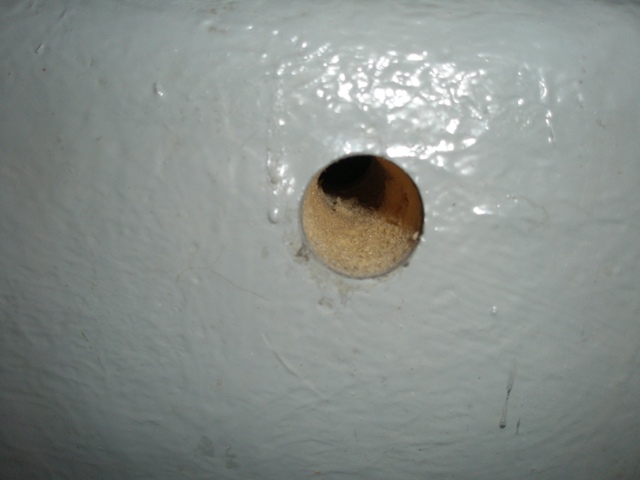
Another look at the hole looking for any indication of water damage. It definitely looks clean.
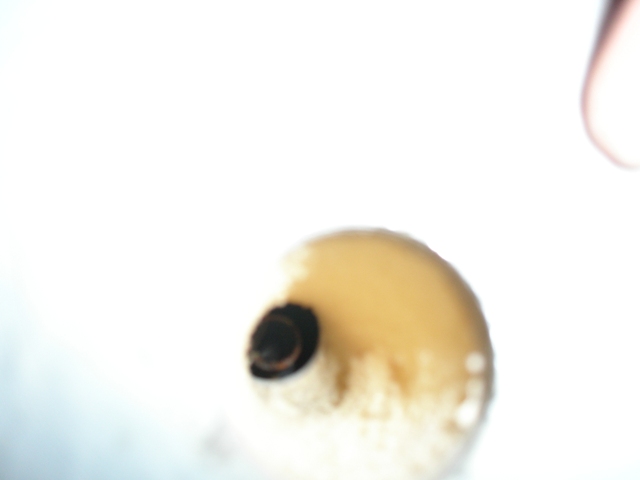
The last look through the pipe before applying Gorilla Tape to the other side.
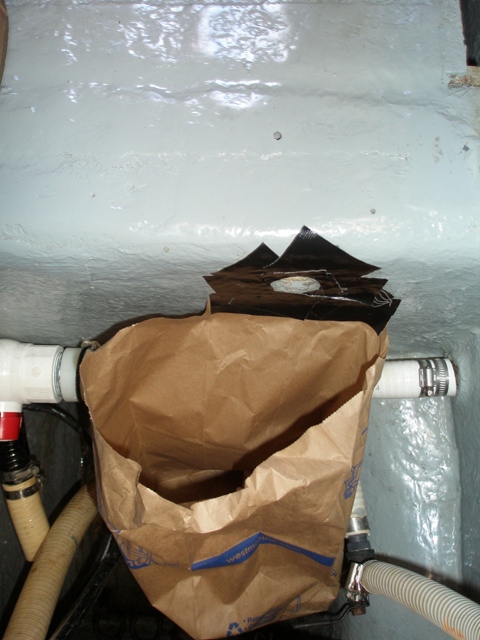
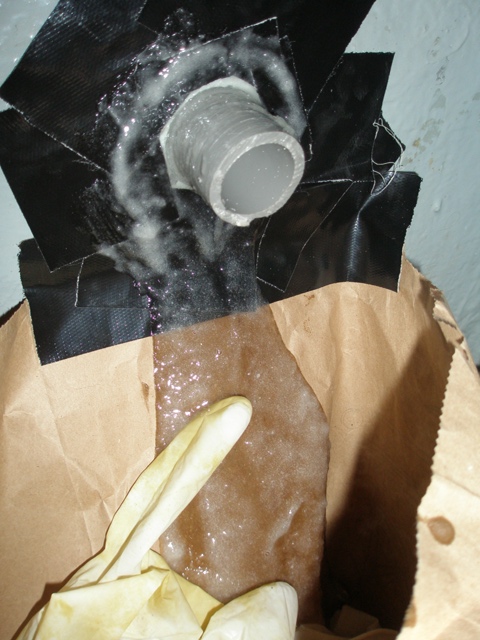
To keep the mess out of the bilge (I will use a caulking tube to put far more epoxy into the hole than will stay and the other end is sealed up) when the thickened epoxy goes everywhere.
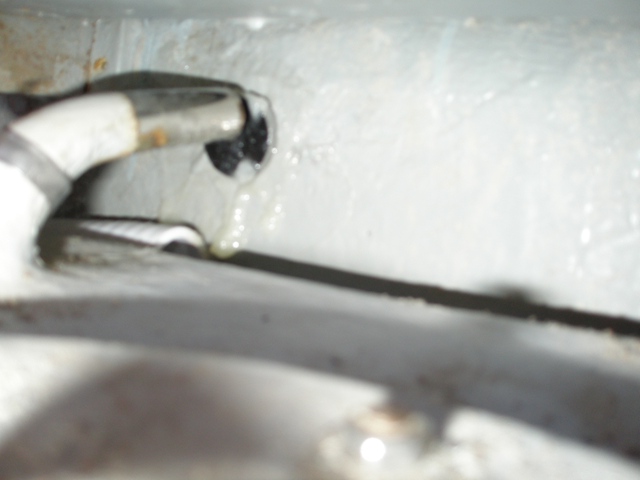
Just below the vent line is the fresh water manifold
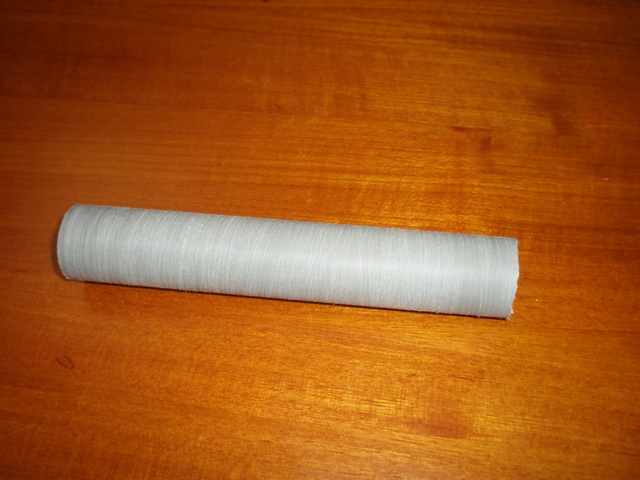
A piece of Grey Schedule 40 PVC pipe works well this purpose. I have scored the outside with heavy grit sandpaper
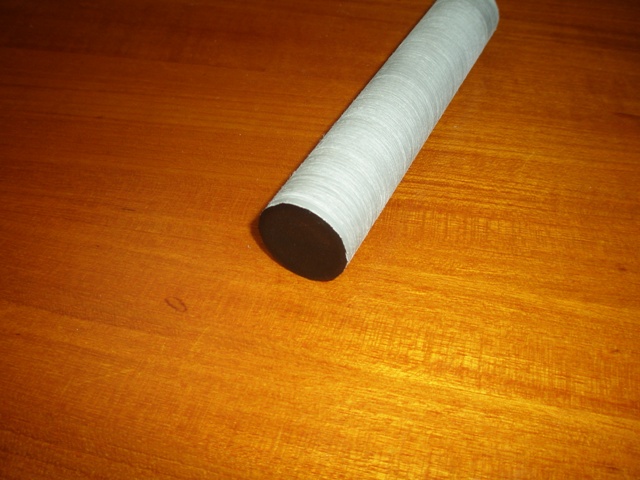
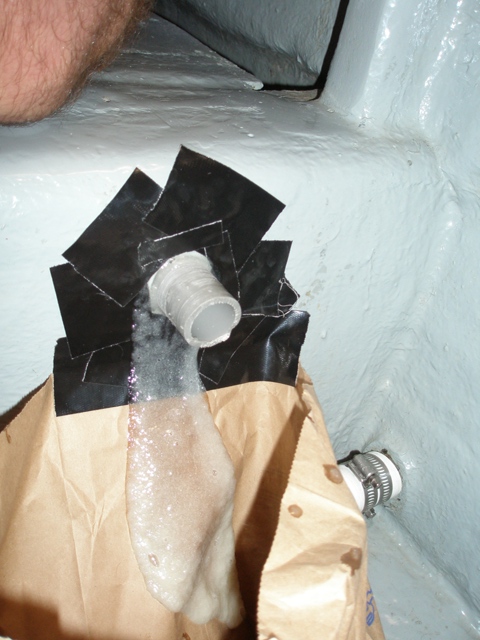
Here is the end of the pipe sealed up with Gorilla Tape to allow the thickened epoxy to be pushed into all of the parts of the foam which are exposed
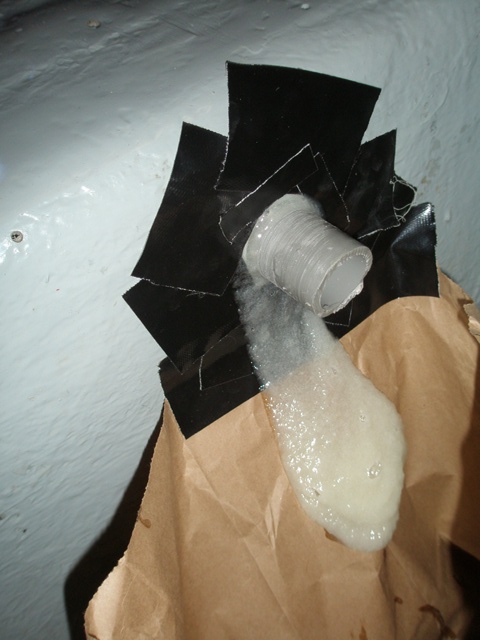
Then I used a fresh caulking tube filled with thickened epoxy and put a significant amount of epoxy into the hole and then slowly turning the piece of pipe to get all of the air out kept pushing the tube through until it was in contact with the tape at the far end of the tube. The result should be that the foam is completely sealed inside the stringer.
It is important to make sure that there is a bead of exposed epoxy all around the tube so that there are no voids where water might get into the stringer.
Watching the epoxy oose out of the hole around the piece of pipe to be sure that there are no voids.
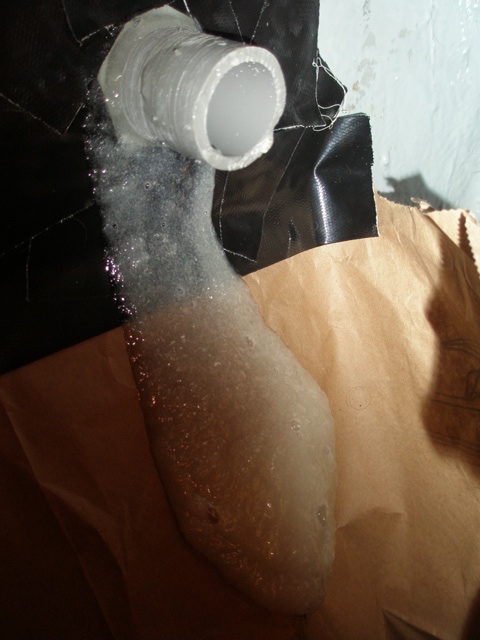
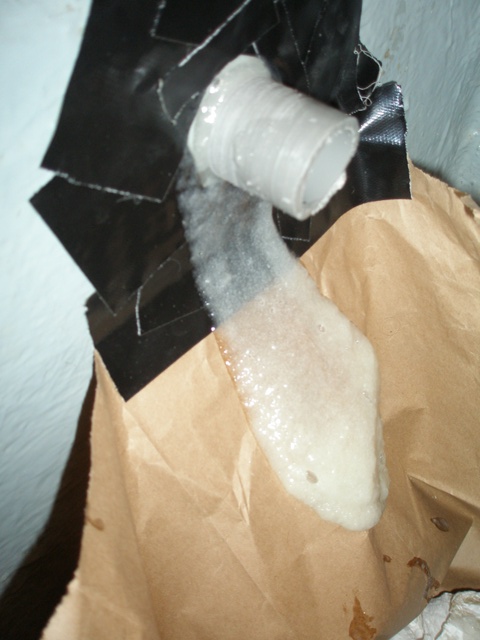
In this case it looks like we will have a very good seal. When the epoxy gets "green" I can peel the excess epoxy from the outside of the stringer.
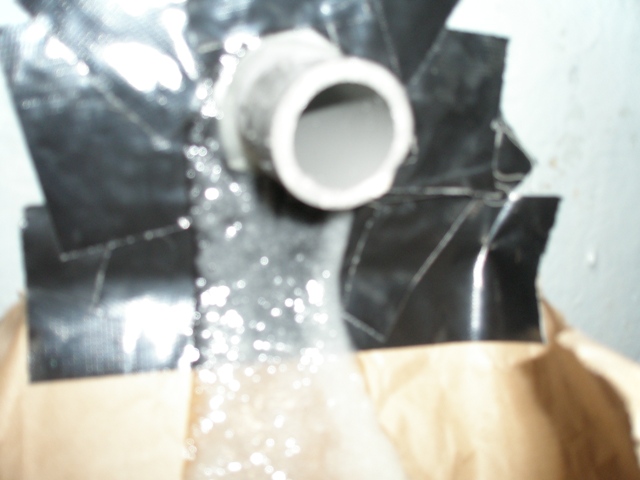
This would have been quite a mess without the tape and bag to help contain the oose.

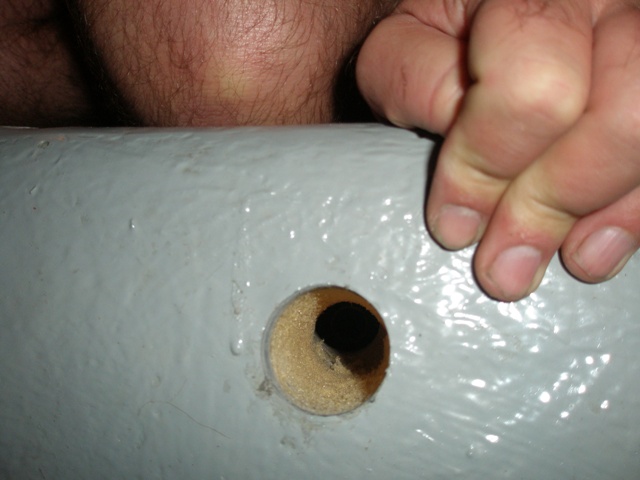
This is looking through from the other side of the bulkhead after the tape had been removed. The piece of hose is being used to prop the tank away from the vent so it will not distort the curing epoxy
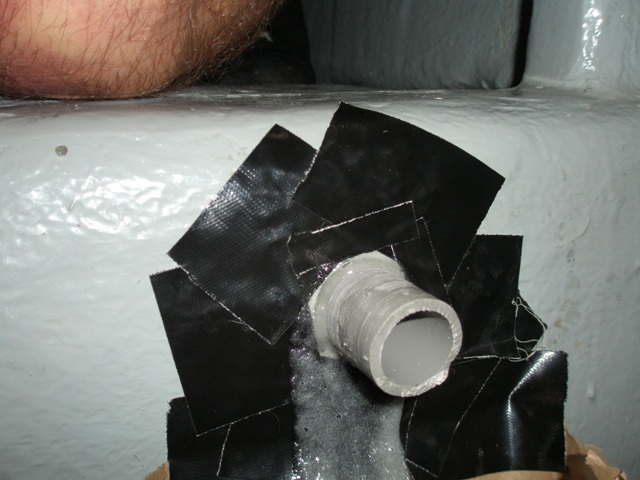
Here you can see the end of the piece of pipe. Now that the piece of tape has been removed and the pipe in it's final position we check the exposed side again
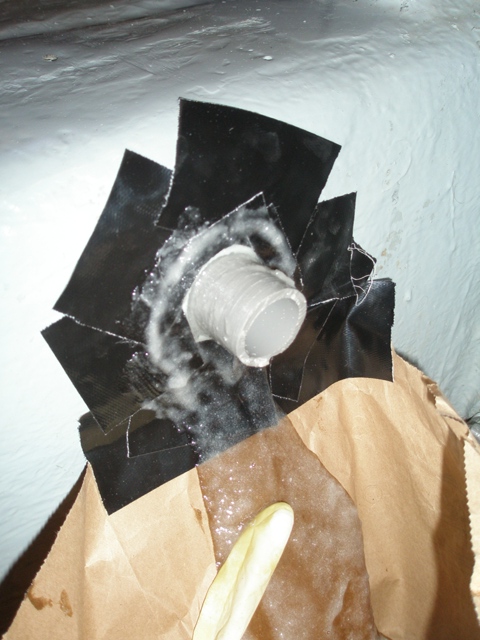
We still have a good bead of epoxy around the pipe and I have pushed the excess thickened epoxy away from the pipe to make cleanup easier.
Now we let it cure. Once finished I trimmed this end flush and when the holding tank was removed (not planned at this point) I was able to clean up the other side completely.
It turned out that when I started the vent hose would just barely fit through the hole. When the epoxy had cured it was a bit small so I had to sand the inside of the pipe until the hose would fit. It is still a bit of a tight fit.