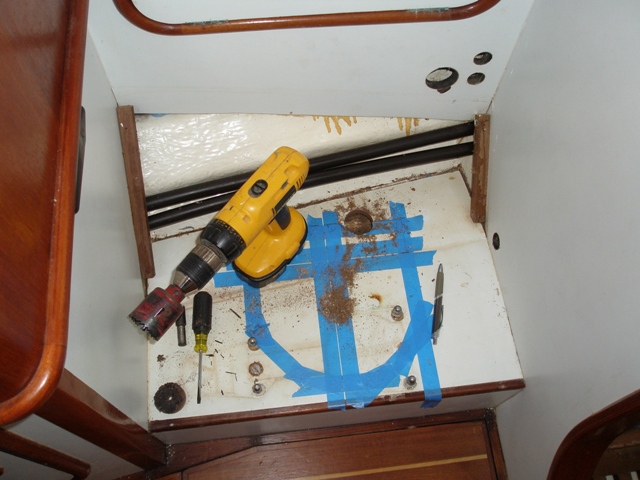
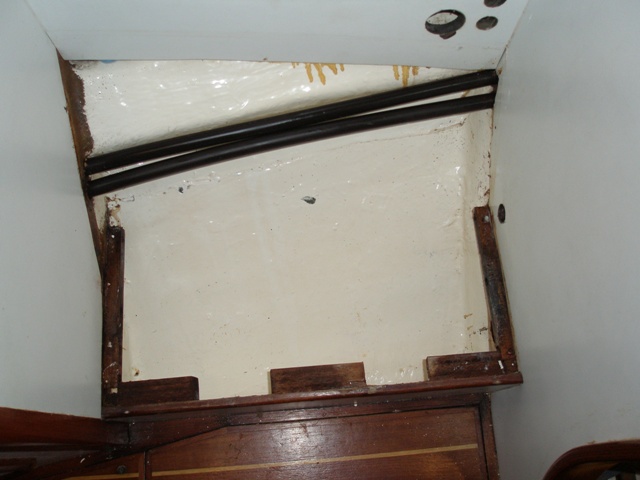
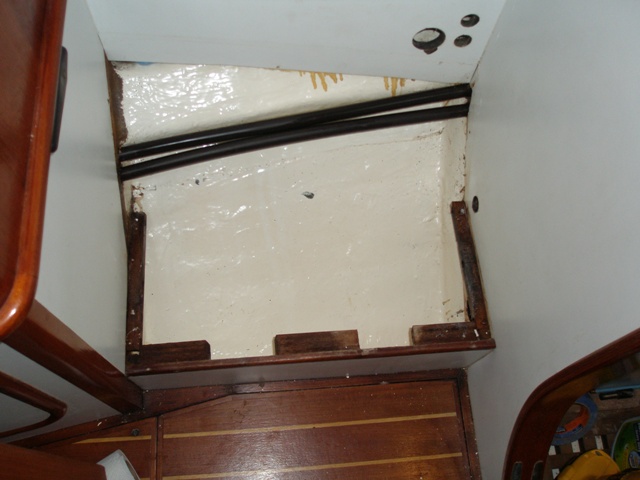
Here I have drilled the holes for the hoses and wire into the void
And here I have cut through from the adjacent locker into the void to run the waste discharge hose for the new toilet.
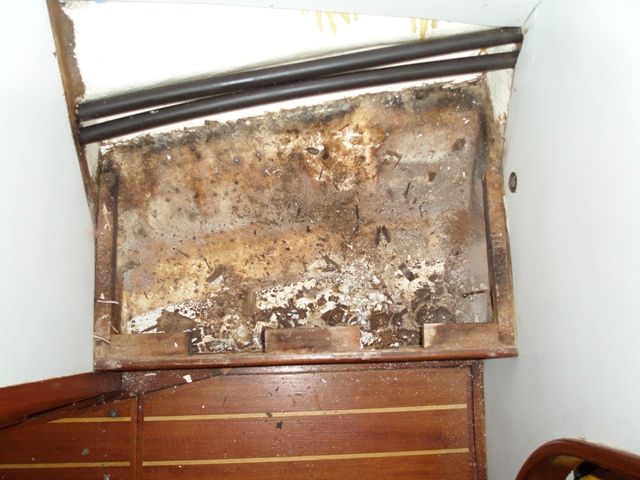
However, once I had cut all of the holes it became clear that the wood which made up the platform had been wet for an extended period of time and had some degree of rot. However it was not clear how to get the piece of plywood up. Eventually I used a wood chissel to remove the formica from the surface and then found the brass wood screws which hold the piece down. With the screws removed it was relatively easy to get the piece of plywood up and underneight I found a place where water had stood at various times. Luckily the wood was well sealed up (except the lid) and no significant penetration of water into the surrounding cabinetry or structure. The question became where was the source of the intermittent water and in the end it appears to be caused by a fresh water leak in the plumbing feeding the washer/dryer. This should be the remaining leak and I should now be able to have this area completely dry at the end of this part of the project. This area, coupled with the area under the shower pan which also held water most likely explains the musty smell which would occasionally show up in the aft head area.
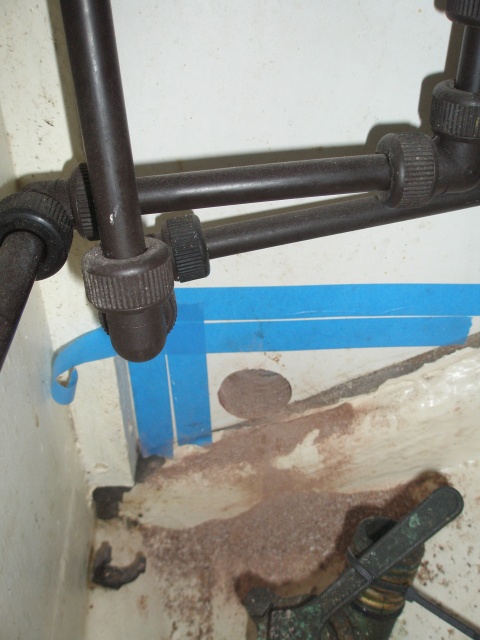
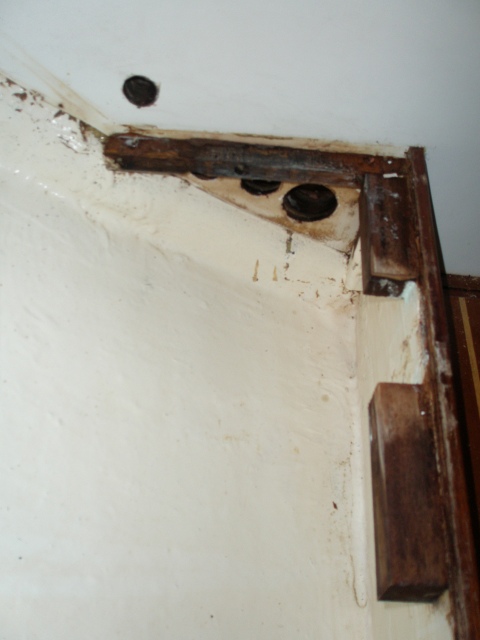
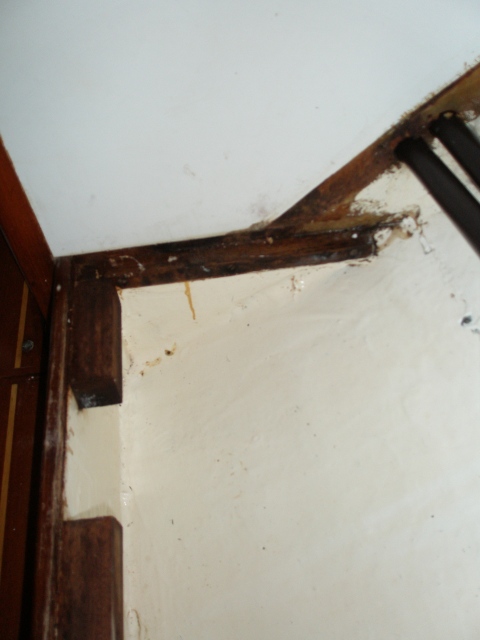
The holes I cut through did turn out to be in good places and with the edges of the wood for the bulkhead sealed up will make great routing of the exhaust hoses for the toilet.

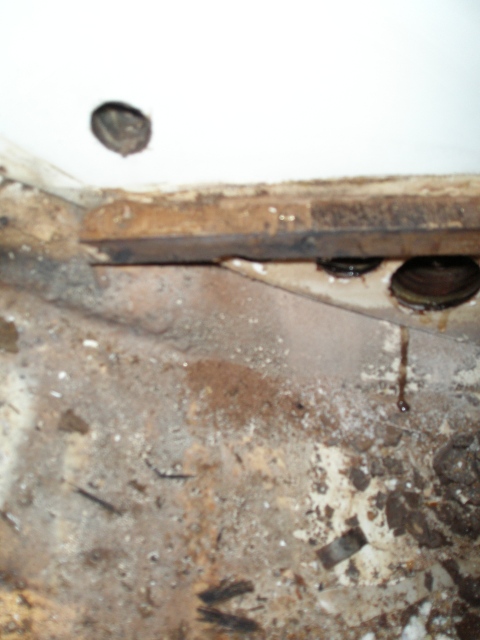
There were several handfulls of material which was dry.
However, after quite a bit of work I was able to get the area to clean up nicely.
This is looking forward through to the shower compartment (under the washer/dryer platform)
And this is looking aft toward the head sink
I suspect I will do a bit more work to clean the wood around the edges up but otherwise things are in pretty good shape.
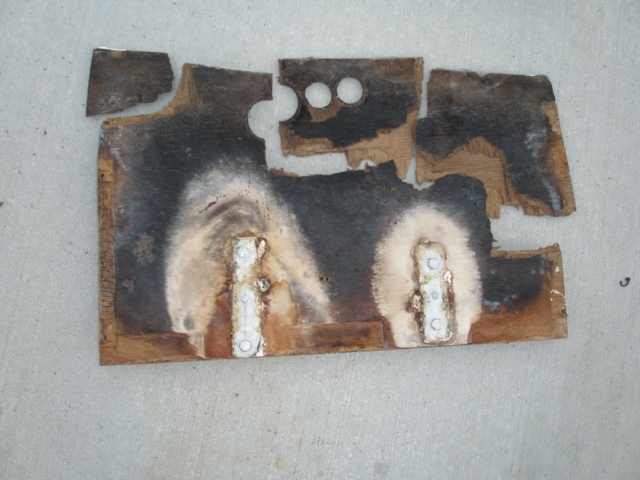
This is the remains of the platform. When the original toilet was installed there were stainless bolts threaded into aluminum plates. That coupled with water resulted in considerable corrosion.
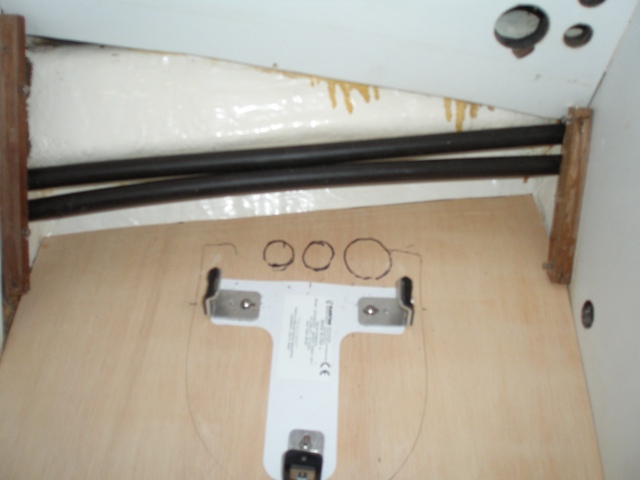
Here is the new platform with the mounting bracket for the toilet
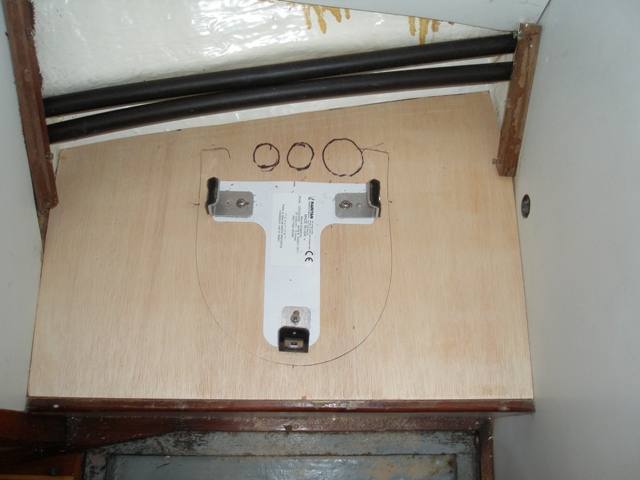
Adjusting a bit

Here is the original kick board behind the toilet. I could have cut this piece up and had a workable solution, however, with the holes to the right I decided to change the arrangement slightly.
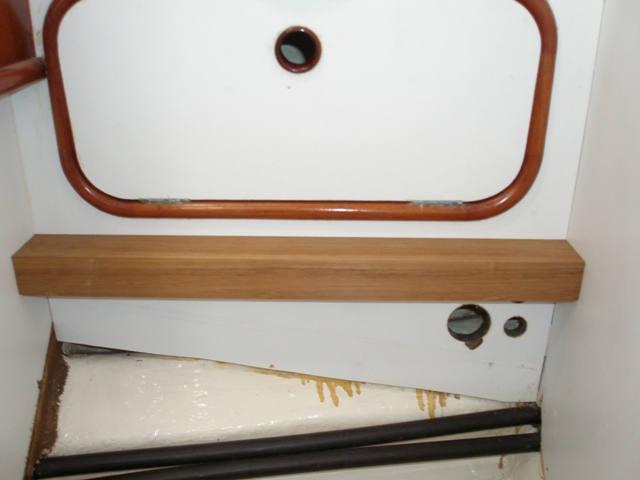
This piece of teak is just the right thickness for the back of the toilet to sit against
With seperate panels on either side of the toilet I can take things apart and get access relatively easily.
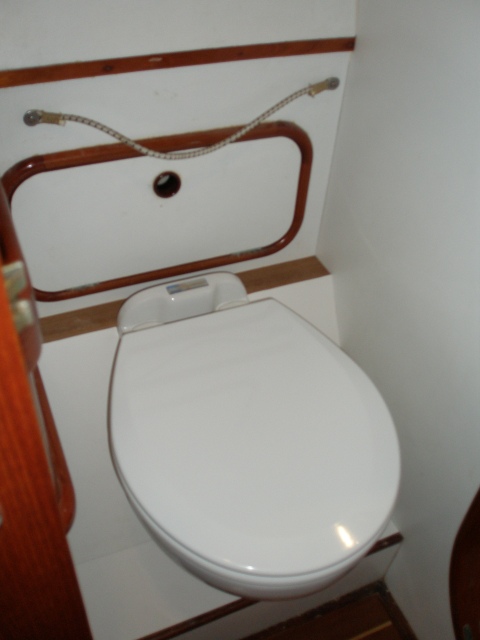
Another view of the installation
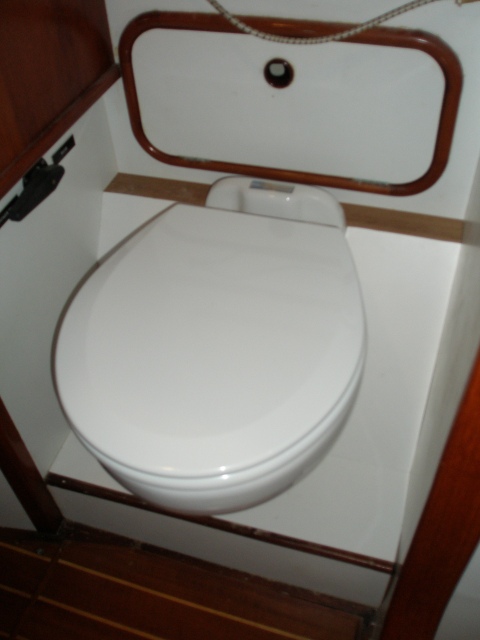
And a different view of the installation
I am still not sure if I would rather have the piece of teak have formica on it or if it shoud be varnished. Something I can decide later.
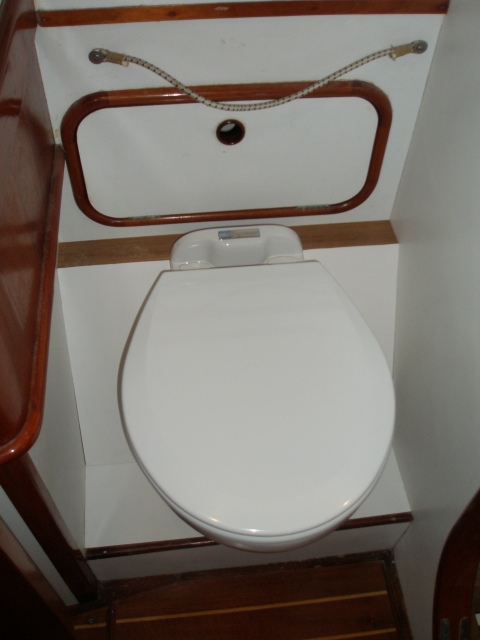
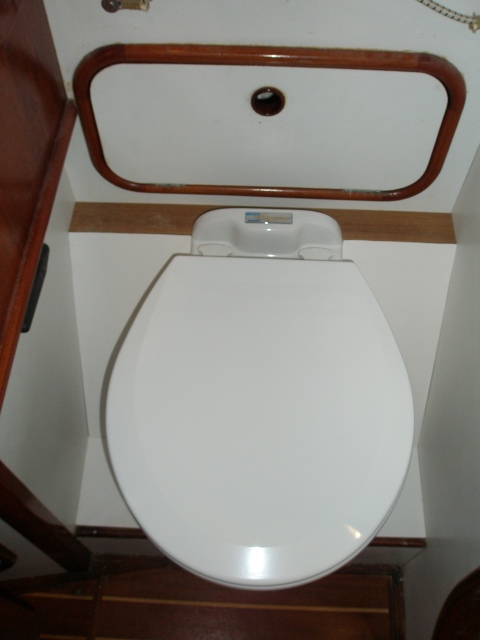
This gets the toilet mostly fit into place. Now it is just a matter of tinkering to get the systems installed.